I am so pleased to Kristin from skirt as top joining us today with her amazing sewing skills.
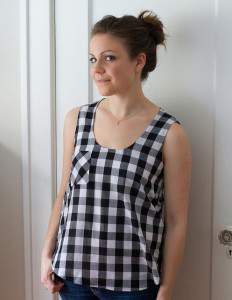
Kristin took part in the same series of Project Run & Play as Tuesday’s guest, Stef from girl. Inspired, which is when I discovered both their blogs. I loved the style of her designs – especially this Sweet Tartan Dress and this Red Riding Hood Coat – and she’s only got better since. My more recent favourites include this scoop neck version of the popular Washi Dress, the Fruit Stripe Skirts and everything she’s sewn for her children as part of the incredible Film Petit series – you have to have a look at that. Take a look at the Vintage May series while you’re there too. Everything she makes has such attention to detail and the same applies to today’s project.
***
hi, i’m kristin from skirt as top and i love this sew yummy series! what a great idea! i sew much more often than i bake, but baking is something i am trying to get better at, especially now that my daughter is four-and-a-half and a great helper in the kitchen. frankly, it’s usually her idea to bake something! i’m just along to read the recipe, crack eggs, and operate the mixer.
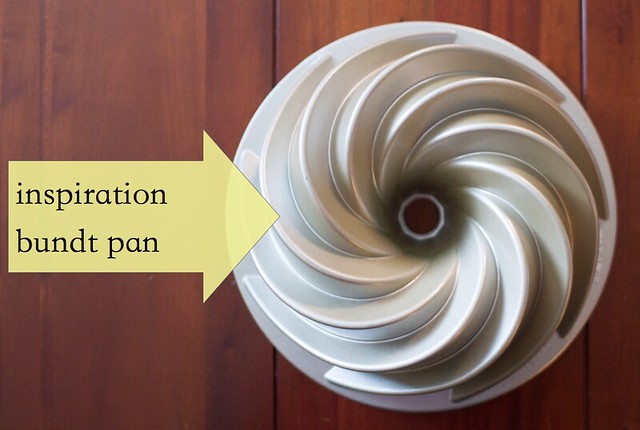
when laura asked me to participate in sew yummy, i knew my inspiration right away – this amazing bundt pan. i’ve used it for my son’s first birthday cake plus a few other times, and it creates a really beautiful, sculptural cake. the shape lends itself perfectly to sewing inspiration, too!
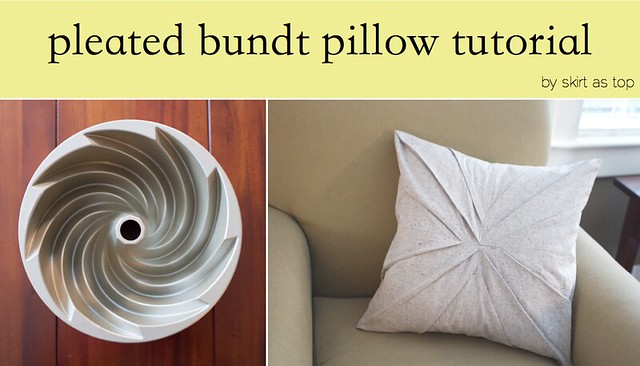
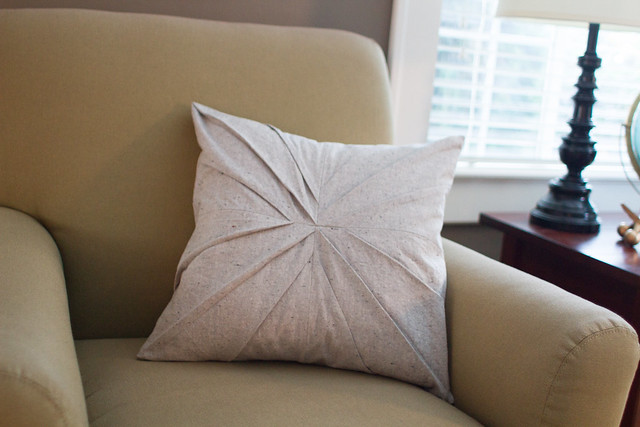
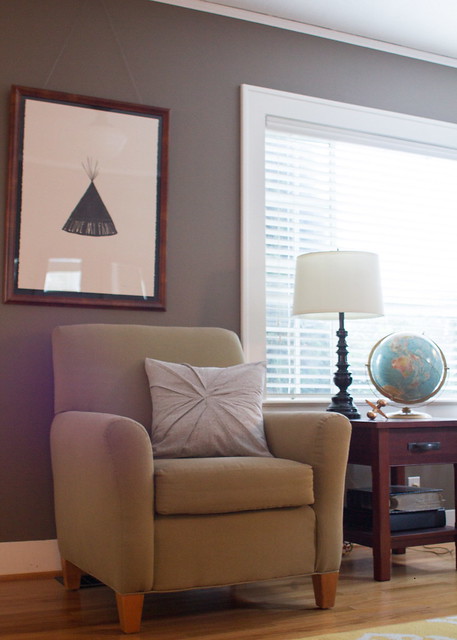
i knew the pan would be best reflected as pleats and i’m actually lacking in throw pillows around my house, so that’s what i decided to make. i wrote up a little tutorial for you if you’d like to make one for yourself – it’s the pleated bundt pillow tutorial!
in this tutorial i created a cover for a 20″ x 20″ pillow insert, though the method is easily adaptable to any size. for mine, you’ll need about 1.5 yards of fabric, disappearing fabric pen (or tailor’s chalk), and a straight edge. my fabric is a really nice hemp blend that acts a bit like linen but has a little more texture to it, but i’m sure this would also work well with quilting cotton.
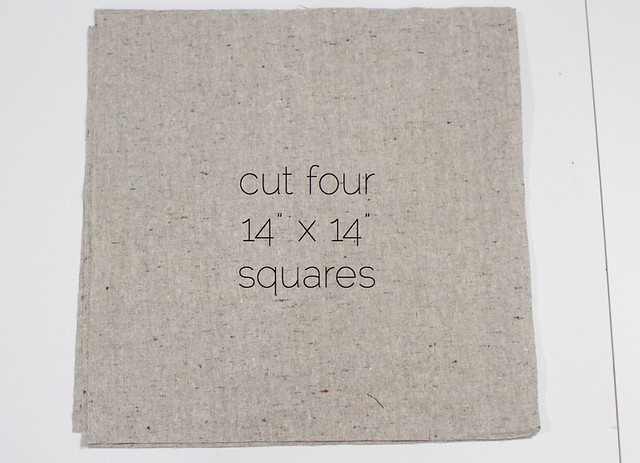
cut 4 squares of fabric at 14″ x 14″ each. these will be larger than you need, but it’s nice to have a little extra to square up the fabric later.
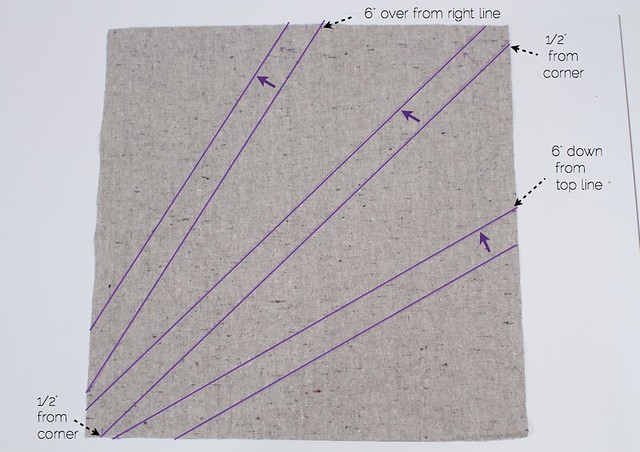
from the bottom left corner, mark 1/2″ in to the right. from the top right corner, mark 1/2″ down. connect the dots with your straight edge, then align your ruler 1″ to the left and make another line parallel to the first. repeat this process 6″ to the left of the second line you drew, and 6″ down from the first line you drew. connect those to points marks 1/2″ away from each side of the first set of parallel lines. again, mark 1″ away from each line to guide your pleats. (i know that wording is a little confusing – see diagram below).
mark arrows as shown in purple to guide your pleating.
repeat for the other three squares. the exact placement of the pleats doesn’t matter too much as long as you’re consistent on each of the four panels.
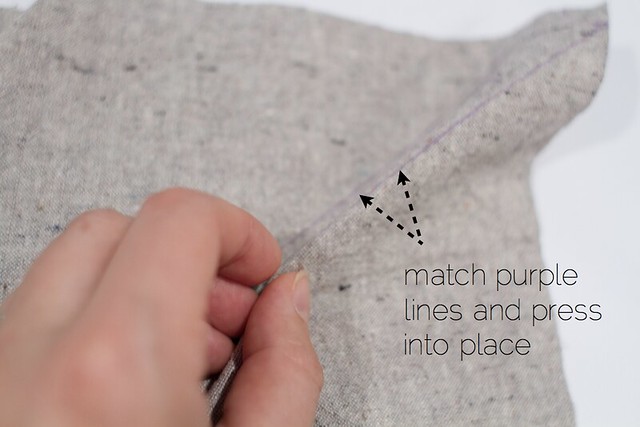
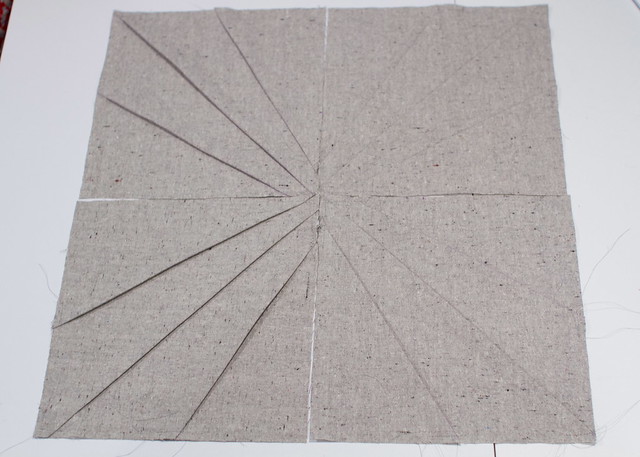
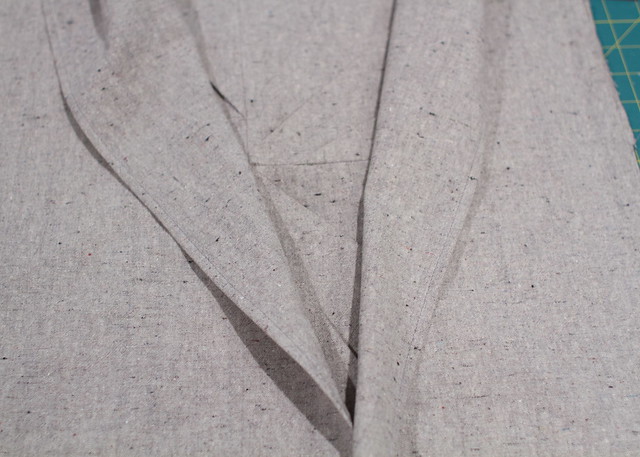
to start forming the pleats, fold one lower purple line up to meet the parallel line an inch away, as indicated by the purple arrows above. press along the pleat to set. form them in the direction of the arrows, so the pleats all face the same direction.
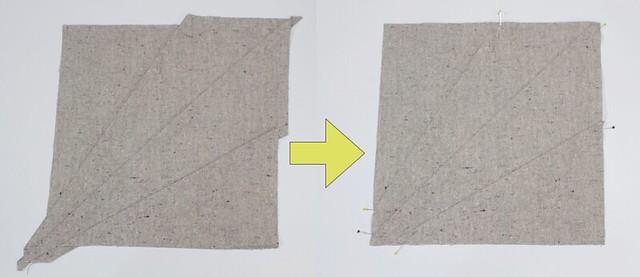
repeat with all marked lines to form three pleats per panel. then trim first the bottom and left edges, then the top and right ones, to form a block that’s 10.5″ square. once you have one panel done, you can use it to guide how you trim the other three.
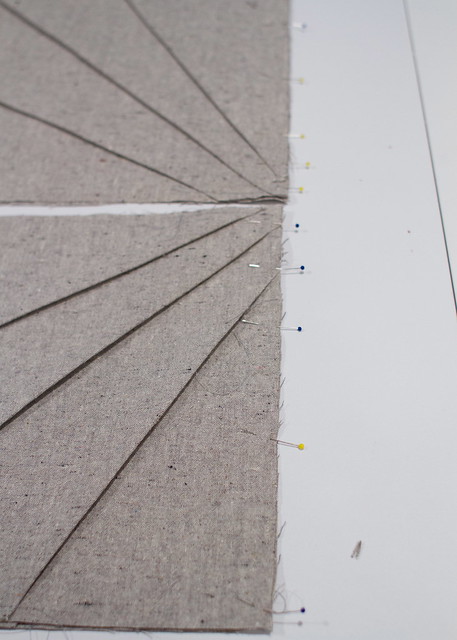
pin and baste the pleats into place with 1/4″ seam allowance. repeat for all four panels.
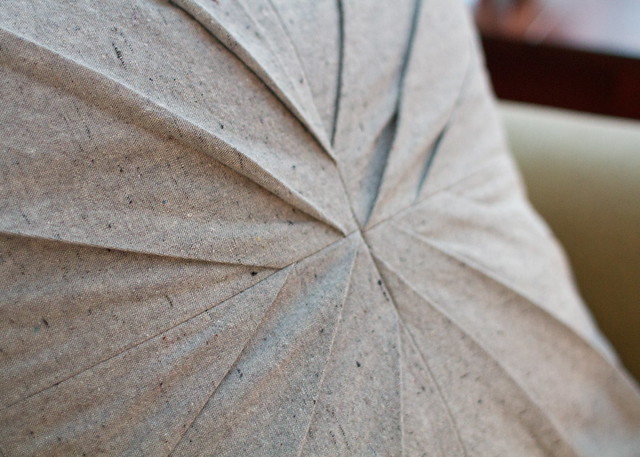
arrange the panels so the pleats appear to swirl around the pillow – on mine, the two squares on the left have the pleats facing down, and the two squares on the right have the pleats facing up.
match the bottom two squares and pin, and the top two squares and pin.
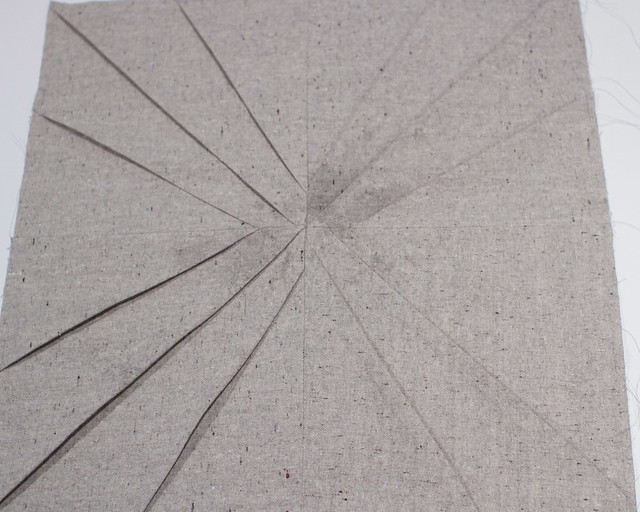
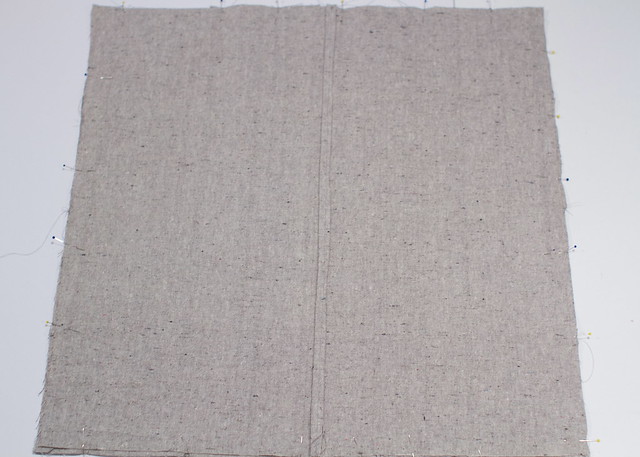
sew with 1/2″ seam, and press your seam allowance open. then sew the top to the bottom, matching pleats and seams. press seam allowance open. your pillow front is done.
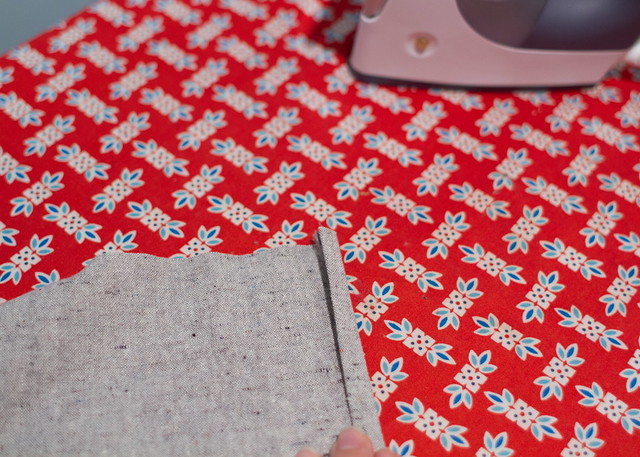
i chose an envelope closure to keep it really simple, though you could do an invisible zipper here and that’d look great too. for the envelope closure, cut two panels 20″ x 15.” hem the long end of each by double folding over 1/4,” pressing, and stitching.
lay both panels right sides down over the pleated front, with the outer edges aligned and the folded edges overlapping in the middle.
pin around the outside and sew all around the perimeter with 1/2″ seam.
finish seam allowances as desired, then clip the corners at an angle without clipping into the seam lines. turn it inside out, and press out the corners with a point turner. stuff in your pillow form and use the steam of your iron to carefully re-set the pleats, if needed. you’re done!
the pleats open up a little due to the volume of the pillow, which gives it a really pretty texture and depth.
and now you have a bundt-inspired pleated pillow adorning your home!
please visit me at skirt as top anytime, and if you make a pleated pillow from this tutorial, please add it to my flickr group so i can see!
thanks so much for having me, laura! it was a pleasure.
***
That’s such a gorgeous bundt pan, it certainly provided some fantastic inspiration for a very stylish pillow. Thanks so much for being here today Kristin.
Today is the final day you can enter the giveaway from The Village Haberdashery for 12 FQs from the Field Study collection by Anna Maria Horner. Go here to enter but be quick, it closes at 8pm BST.
13 Comments
oh, it’s so subtle and so beautiful! I love those bundt tins so much…I think they’re soooo pretty!
Oh, I love this pillow!!! Love it! Love it! I’m gonna have to make one of these…. 🙂 Great job Kristin, and Laura, loving this series! 🙂
You are quite a talented seamstress, Kristin! Your pillow is fabulous, and I love your tartan dress and Little Red Riding Hood coat~so cute!
this is such a delightful series! the pillow has a beautiful, understated design, and this whole post has left me hungry for bundt cake 🙂
That is gorgeous! I love the effect it creates. Thanks for the tutorial, (and I am so glad I found this awesome series, what a great idea!)
Aw thanks so much, ladies! And Laura it was wonderful to be here. All blog series should be as creative and original as this one – so inspiring! 🙂
Love it! So simple and gorgeous!
This is beautifully designed, as usual, Kristin. I find it so interesting that we both chose “pillows” – it’s awesome! I’m going to need to try this pleating technique – I admire your precision with everything that you sew!
I love it!! What a great way to add interest to “ordinary” fabric! Thanks so much for sharing!!
My awful attempt… Well I learned that you really need to use a pillow form and measure/cut better than I did. 🙂 Thank you for the inspiration!
Thanks for this tutorial. As soon as I saw it I knew I would make one for my sister. It turned out beautifully and she is thrilled with it.
That’s just lovely, and so classy, never would have thought of it, many thanks, some of that “that~would~be~great~for~pillows” material will be coming out of storage…
are the marks on the right or wrong side of the fabric. Or does it matter? Thx