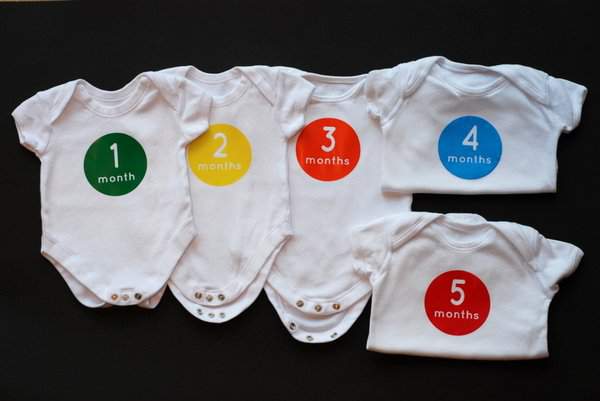
I get quite sentimental about keeping records of my children and periodically start one initiative or another to try to remember all the little details. Sadly I don’t often keep them up for long but this is one thing I’m sure I would have stuck with. I’ve seen this idea in a few places now but unfortunately didn’t spot it until Rowan was about 8 months old and it seemed a bit late to start then. Take a photo of your baby in each vest when they reach the corresponding monthly milestone and after a year you’ll be able to create a fantastic collage showing how they’ve changed. I decided that if I couldn’t do this for my children then the next best thing would be to make it for friends’ babies. As soon as I found out that my cousin Hannah was expecting her second baby I knew I would make my first set for her. I do intend to make her a full 12 month set but thought I’d wait until her son Charlie is a bit older to see what is the best size vest to use for 6 months onwards. Also, I didn’t have any more colours of heat transfer except pink.
I bought a selection of vests in different sizes from Asda, John Lewis and Matalan – I’ve got quite the collection now. Ideally I’d love to have vests with ribbing that co-ordinates with each month’s sticker colour but I haven’t found any of those yet. I created the files for the stickers using Inkscape and then used ‘Make the Cut’ and my digital cutter to cut them out of heat transfer. The font is Quicksand in bold, which you can download for free here. I have a ‘Black Cat Lynx’ digital cutter and received a lot of help from the Black Cat forum while creating the files. The support provided in this forum is amazing and one of the things that convinced me to choose this machine.
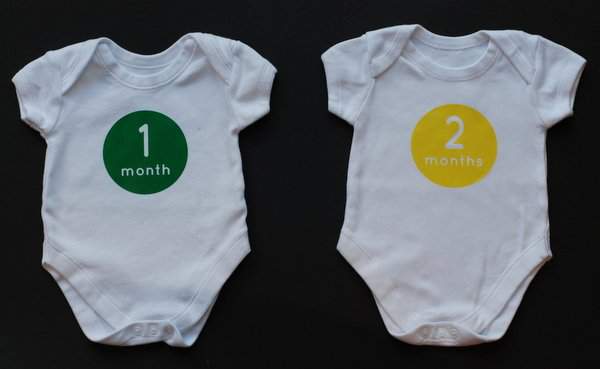
You can download the svg file for free here if you’d like to use this design.
If you don’t have a digital cutter you could still make a set although it will take you longer. One option is to print your design onto freezer paper, cut out the circle and letters using a craft knife, iron into place and then use fabric paint. Alternatively you could print the design onto transfer paper so you’d only need to cut out the large circle, not the inner details.
I predict that many more friends will be receiving this gift and I’m really looking forward to seeing all the photos of Charlie once he’s a few months old.
7 Comments
This is such a cute idea! It would have been hard to plan for my little guy in advance, though, because he shot up through the sizes at a crazy rate for the first year, and was consistently in the 97th percentile for weight and height! (He’s still a really big boy, although his growth has plateaued a bit – I don’t know where this came from, as his dad and I are small to average sized people.) But this could also be done each month, for adorable photo shoot opportunities. Hmmmm …
You could always make the vests, or little T shirts in the appropriate colour, or using ribbing to match!!!
What a great handmade gift. These vests will be part of photos and memories… So special.
Super cute!
What a great idea, great DIY project and great present for any mum.
Oh, love the new banner. Very stylish. Hope you’re well. x
Thank you so much for the set of transfers! I’m so excited! I’m going to iron the “Born Yesterday” one for my friends who are expecting in October. Tee hee!
You’re welcome Inder, I’m really pleased that you can use the idea and can’t wait to see the photos of your gorgeous girl. Pleased to hear the “Born Yesterday” one will be used too – I was just a bit too late getting them to you for that one.